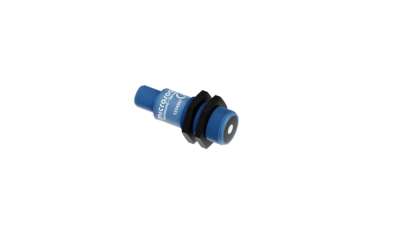
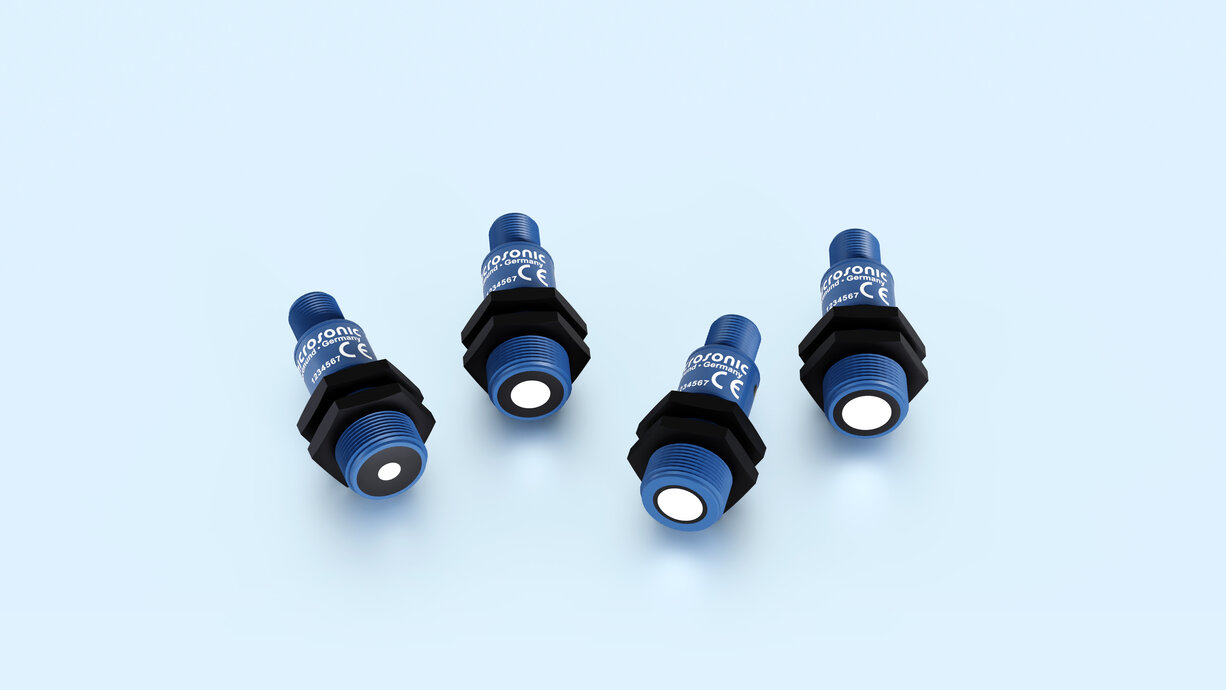
Auf dem Bild sind die nero Ultraschall-Näherungsschalter in vier verschiedenen Tastweiten zu sehen.

nero

M18 proximity switch: 4 ranges, 2 housing’s designs, 2 operating types.

검출 영역
  • Symbolische Darstellung eines Ultraschallsensor mit einer Tastweite von 0,15 m.0.15 m
  • Symbolische Darstellung eines Ultraschallsensor mit einer Tastweite von 0,25 m.0.25 m
  • Symbolische Darstellung eines Ultraschallsensor mit einer Tastweite von 0,35 m.0.35 m
  • Symbolische Darstellung eines Ultraschallsensor mit einer Tastweite von 1,0 m.1.0 m
출력
  • Symbolische Darstellung 1 Schaltausgang
  • Symbolische Darstellung von einem Analogausgang
하우징 규격

하이라이트

  • Variant with 90° angled head
  • 캐나다 및 미국 안전 표준에 대한 UL 인증

기본 사항

  • 1 switching output pnp or npn basis
  • 4-20 mA 또는 0-10 V 아날로그 출력
  • 4 detection ranges with a measurement range of 20 mm to 1.3 m
  • microsonic-Teach-in
  • 분해능 0.2 mm
  • 10~30V 작동 전압

nero ultrasonic proximity switches

are available in a M18 plastic sleeve. The ultrasonic proximity switches detect contactless and reliable objects with four detection ranges from 20 mm to 1.3 m.
Two output stages

are available for 4 detection ranges:

Symbolische Darstellung 1 Schaltausgang1 switching output with pnp or npn switching technology
Symbolische Darstellung von einem Analogausgang1 analogue output 4–20 mA or 0–10 V

스위칭 출력이 있는 큐브 센서에는 세 가지 작동 모드가 있습니다.

  • 단일 스위칭 포인트
  • 양방향 반사 장벽
  • 윈도우 모드

하나의 스위칭 지점 티치 인

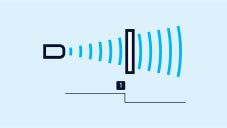
  • 원하는 거리에 물체를 놓으십시오- (1) 지점
  • +UB 선을 핀 2에 약 3 초 동안 접촉하십시오
  • 그런 다음 +UB 를 약 1 초 동안 다시 2 번 핀에 접촉하십시오.

하나의 스위칭 지점 티치 인

  • 원하는 거리에 물체를 놓으십시오- (1) 지점
  • +UB 선을 핀 2에 약 3 초 동안 접촉하십시오
  • 그런 다음 +UB 를 약 1 초 동안 다시 2 번 핀에 접촉하십시오.
Teach-in of a switching point
스위칭 지점의 티치-인
Teach-in of a two-way reflective barrier ultrasonic sensor
반사 장벽을 이용한 검출의 티치-인

반사 장벽을 이용한 검출의 티치-인

고정 된 반사경 포함

  • +UB 를 핀 2에 약 3 초 동안 접촉하십시오.
  • 그런 다음 +UB 를 약 10 초 동안 다시 2 번 핀에 접촉하십시오.
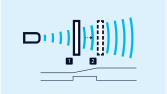
아날로그 측정영역 또는 검출영역 내 2 개의 스위 칭 포인트의 티치-인

For configuration of a window

  • Place object at the near edge of the window (1)
  • Apply +UB to pin 2 for about 3 seconds
  • Then move the object to the far edge of the window (2)
  • Then apply +UB to pin 2 again for about 1 second

NCC/NOC

증가/감소 아나로그 구간을 pin2를 통해 세트할수 있다.

One green and one yellow LED

indicate the state of the output and support microsonic Teach-in.