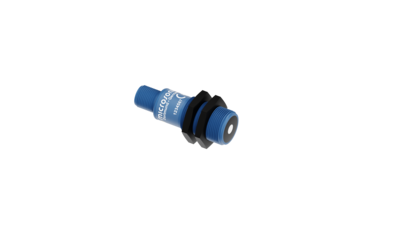
Auf dem Bild sind die nero Ultraschall-Näherungsschalter in vier verschiedenen Tastweiten zu sehen.

nero

Ultrasonic proximity switch nero in M18 plastic sleeve with 4 detection ranges

Detection ranges:
  • Symbolische Darstellung eines Ultraschallsensor mit einer Tastweite von 0,15 m.0.15 m
  • Symbolische Darstellung eines Ultraschallsensor mit einer Tastweite von 0,25 m.0.25 m
  • Symbolische Darstellung eines Ultraschallsensor mit einer Tastweite von 0,35 m.0.35 m
  • Symbolische Darstellung eines Ultraschallsensor mit einer Tastweite von 1,0 m.1.0 m
Outputs:
  • Symbolische Darstellung 1 Schaltausgang
  • Symbolische Darstellung von einem Analogausgang
Threaded sleeve:

Highlights

  • Variant with 90° angled head
  • UL Listed to Canadian and US safety standards

Basics

  • 1 switching output pnp or npn basis
  • Analogue output 4–20 mA or 0–10 V
  • 4 detection ranges with a measurement range of 20 mm to 1.3 m
  • microsonic-Teach-in
  • 0.2 mm resolution
  • 10–30 V operating voltage

nero ultrasonic proximity switches

are available in a M18 plastic sleeve. The ultrasonic proximity switches detect contactless and reliable objects with four detection ranges from 20 mm to 1.3 m.
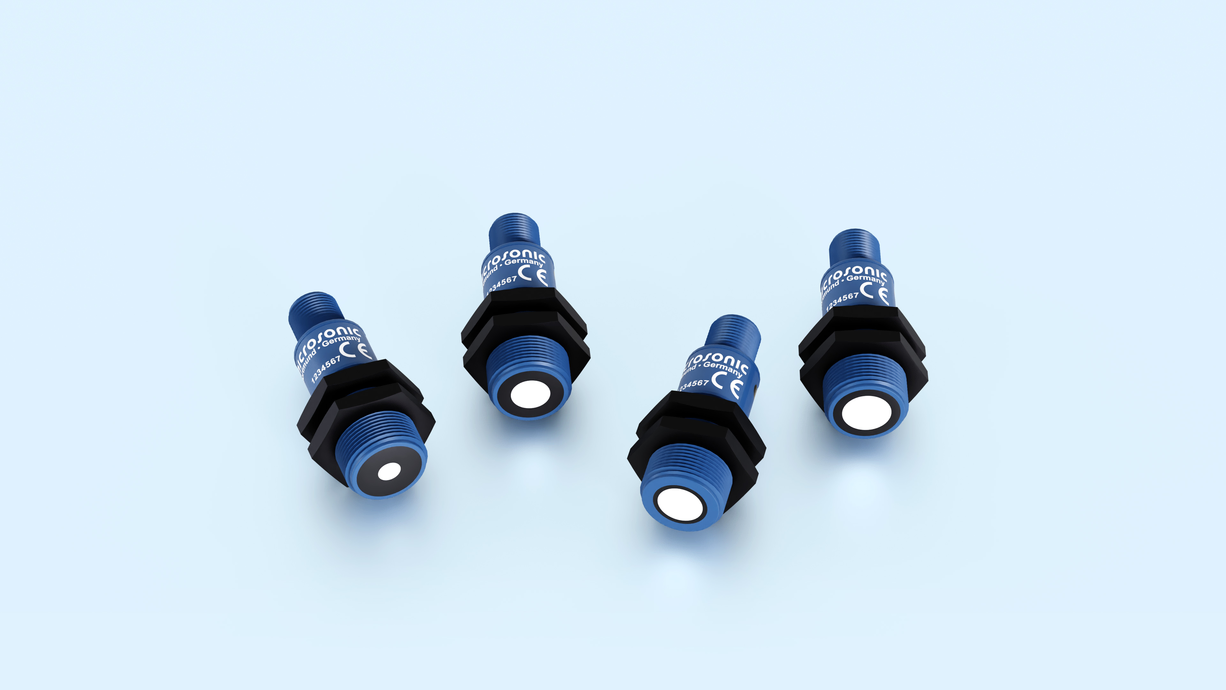
Two output stages

are available for 4 detection ranges:

Symbolische Darstellung 1 Schaltausgang1 switching output with pnp or npn switching technology
Symbolische Darstellung von einem Analogausgang1 analogue output 4–20 mA or 0–10 V

Sensors with switching output have three operating modes:

  • Single switching point
  • Two-way reflective barrier
  • Window mode

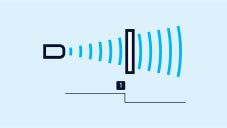
Teach-in of a single switching point

  • Place object to be detected (1) at the desired distance
  • Apply +UB to pin 2 for about 3 seconds
  • Then apply +UB to pin 2 again for about 1 second
Teach-in of a switching point
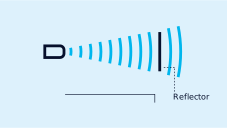
Teach-in of a two-way reflective barrier ultrasonic sensor
Teach-in of a two-way reflective barrier

Teach-in of a two-way reflective barrier

with a fixed reflector

  • Apply +UB to pin 2 for about 3 seconds
  • Then apply +UB to pin 2 again for about 10 seconds
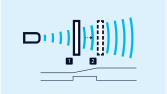
Teach-in of an analogue characteristic or a window with two switching points

For configuration of a window

  • Place object at the near edge of the window (1)
  • Apply +UB to pin 2 for about 3 seconds
  • Then move the object to the far edge of the window (2)
  • Then apply +UB to pin 2 again for about 1 second

NCC/NOC

and rising/falling analogue characteristic curve can also be set via pin 2.

One green and one yellow LED

indicate the state of the output and support microsonic Teach-in.

You have special requirements?
Nothing as simple as that.

With us, you can easily find an individual solution. Let us talk about your application: +49 231 97 51 51-82.